|
VorpX Special Shaders Settings

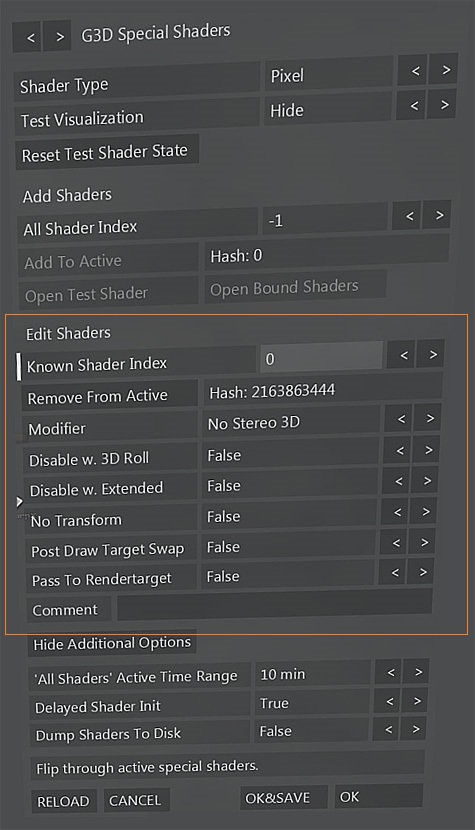
G3D Special Shaders
This page is available only for users that have enabled the expert settings button in the config App. Many settings require some knowledge about 3D rendering, but some are relatively self explaining and can help the user to improve his game, example Shadows, Displaced shaders, Shaders at wrong deptch, skyboxes, HUD Elements ect.
Shader Type
Switch beetween Pixel, Vertex (DX7/11) and for DX11 Compute
Test Visualisation
Choose beetween HUD, Hide, No Transformation, Red,Green,Blue. Example: The selected shader will appear at HUD depth, be disabled or in Red Green or Blue
Reset Shader State
Resets shader state
Add Shaders
Below this you can step through all available shaders, make them shader active or remove them from the active special shaders
All shader Index
Step through the shaders that type is selcted above
Add to active
Make a shader active. Meaning the shader that you have tested above will become active so you can change its states. Example: Place them at HUD depth, make em mono ect. When a shader has been added to the active list ist will be rendered following the settings below "Edit Shaders"
Open Testshader
Additional Settings
All Shaders active timerange
Delayed Shader Init
Dump Shaders to Disk

Edit Shaders
Below here you can make several settings, most important is the modifier. With this you can make the active shader render in many different ways, example: No Stereo,HUD,Dont Transform ect.
Remove From Active
The selected shader will become inactive, meaning that parameters thet have chosen willl become invalid and the shader will render "normal"
Modifier
Disable w. 3D Roll
Disable w. Extended
No Transform
Post Draw Target Swap
Pass to Rendertarget
|
|

 -
-